One of the real joys of LCHF diets, is it gives you permission to rekindle an ancient friendship with butter, and the tastiest is Homemade cultured butter.
Milk fats were likely the first you ever tasted, and I’ll bet you loved them from an early age right up until you were told how awful it was for your health. The good news is that that was horrible advice based on the lipid hypothesis that has never been substantiated, and it turns out that Saturated fat won’t clog your arteries.
The great news is that Butter is still delicious, and if you have only ever tasted industrial butter … boy are you in for a treat, because this recipe will kick your Buttery experience up a notch.
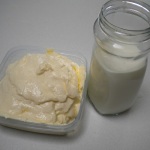
Most industrialised countries have industrial butter that is made from the fat from pasteurized cream with additives to make it taste like Butter.
Cultured butter uses a handful of different Lactococcus bacteria to convert some of the milk sugars into fatty acids like butyric acid. Cultured butter has more complex, nuanced flavour because it has been fermented into a larger palette of flavour components.
Oh and it's delicious ... don't try this recipe if you don't want to get so spoiled that you'll never again buy a $1 block of average butter.
| Servings | Prep Time |
| 500 g | 1 day |
|
|

|
Most industrialised countries have industrial butter that is made from the fat from pasteurized cream with additives to make it taste like Butter.
Cultured butter uses a handful of different Lactococcus bacteria to convert some of the milk sugars into fatty acids like butyric acid. Cultured butter has more complex, nuanced flavour because it has been fermented into a larger palette of flavour components.
Oh and it's delicious ... don't try this recipe if you don't want to get so spoiled that you'll never again buy a $1 block of average butter.
|
Ingredients
Grow a Culture
- 1 cup Milk
- 1/8 tsp Mesophilic Type B Starter
Culture your butter
- 1/2 cup Culture You can also use Buttermilk from a previous batch
- 1 litre Pure cream not thickened with gelatin or cornflour
Servings: g
Instructions
Grow a culture
- If you have some Buttermilk in your fridge from a previous batch of butter you can simply use the culture in that and skip this step.
- First you have to ensure that there are no live bacteria in the milk, so Pasteurize 1 cup of milk by bringing it to 74C (165F). You can skip this step if you are using UHT (Ultra Heat Treated) milk which is already ultra-pasteurized.
- Put the pasteurized milk in a clean container with a lid, and let the milk cool to your culture's ideal growing temperature before adding the Mesophilic type-B starter. The one we use grows best at 23C-25C (75F-77F).
- Now you just need to give the bacteria a chance to grow. It should take 12-24 hours depending on how close you can keep it's temperature in the ideal growing range. We use a Yogurt maker, but you could put the sealed container in a sink of warm water that you regularly add a little hot water to.
- The Culture will be ready when it thickens and looks a runny yogurt - which is kind of what it now is.
Culture your butter
- Measure unthickened cream and the culture (or some Buttermilk from a previous batch) into a culturing container, seal the lid and leave it in a warm spot for 24 - 48 hrs to give the bacteria a chance to grow throughout the cream.
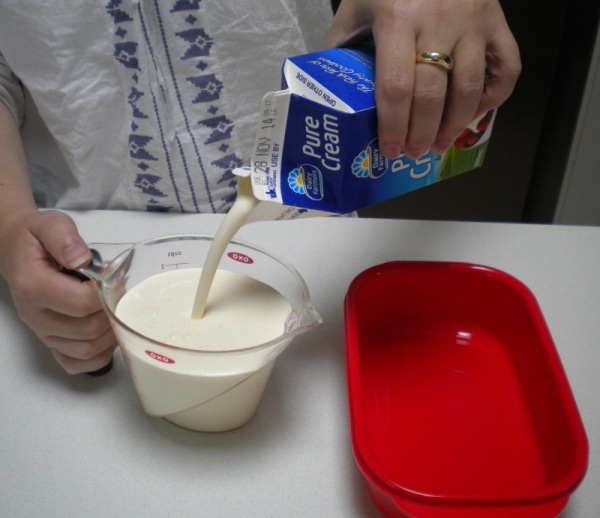
- Once the cream has sat for a while you will see a more solid layer which is just the fat rising to the top. The culture will probably smell freshly yeasty like just a hint of fresh bread. This stage is clotted cream - and you can use it in desserts.
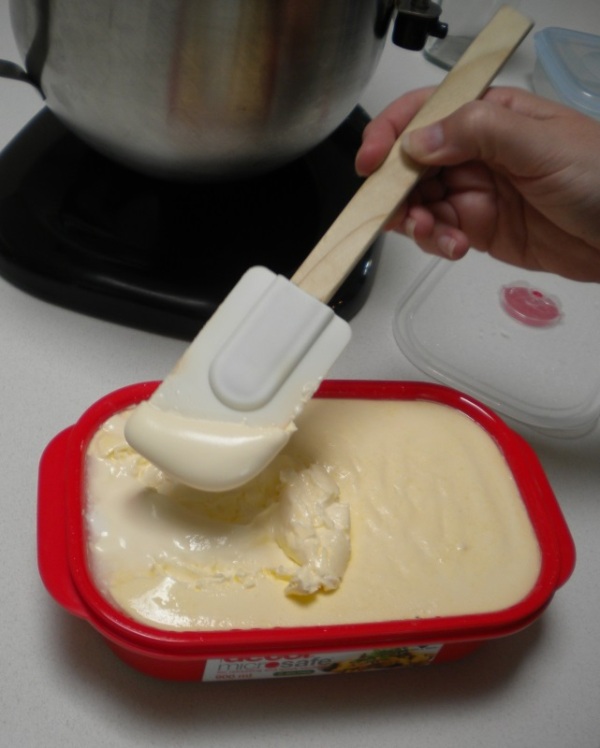
- Add the clotted cream to a mixer and start beating at the lowest speed. Slowly increase the speed until it starts to splatter a bit and then dial it back one notch.
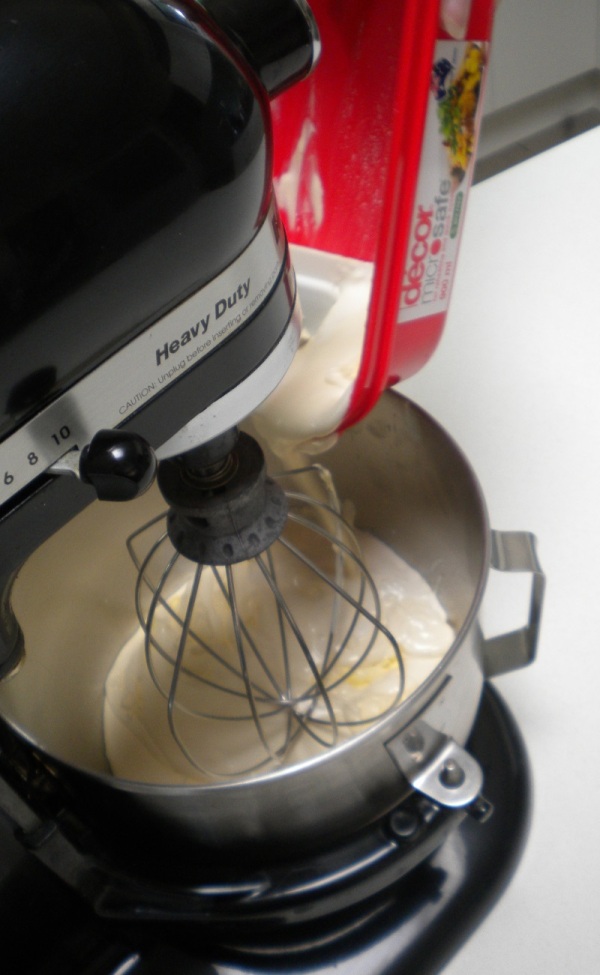
- Eventually the cream will thicken and at this stage it is cultured whipped cream and you can use it as the basis for a cake frosting.
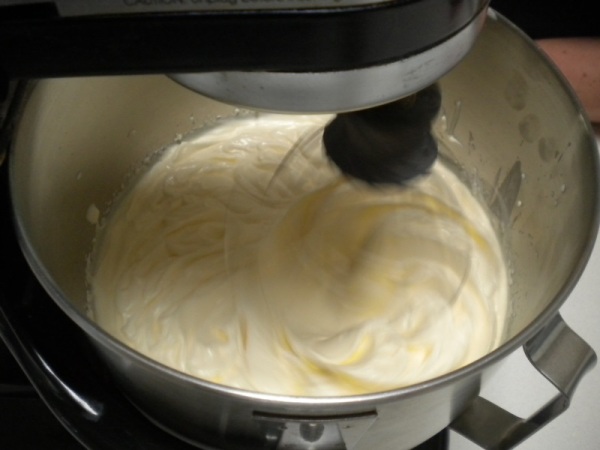
- Eventually the fat (yellow) in the cream will separate from the Buttermilk (white).
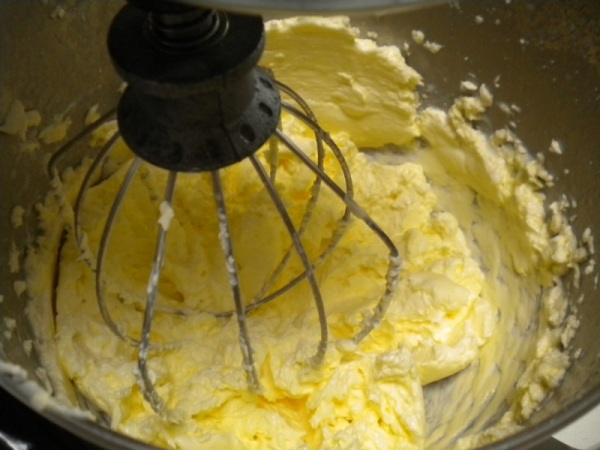
- Use a spatula to press the Buttermilk out of the butter, then return the bowl to the mixer and mix until no more buttermilk is being produced.
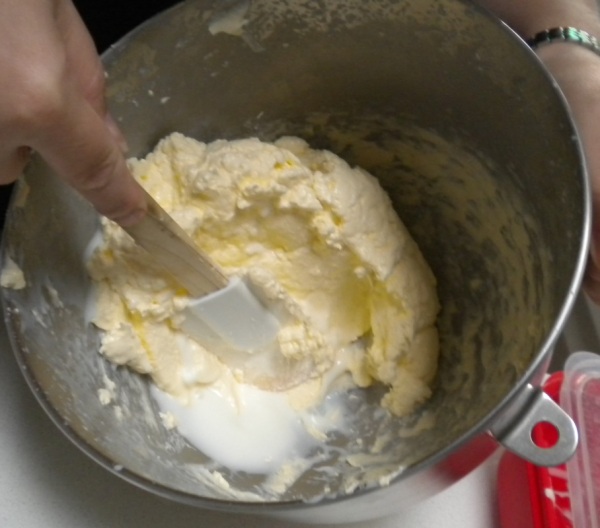
- Remove the bowl from the Mixer, pour off any buttermilk and put the bowl in the fridge until the butter hardens a little (if your room temp is low, you may not need to do this).
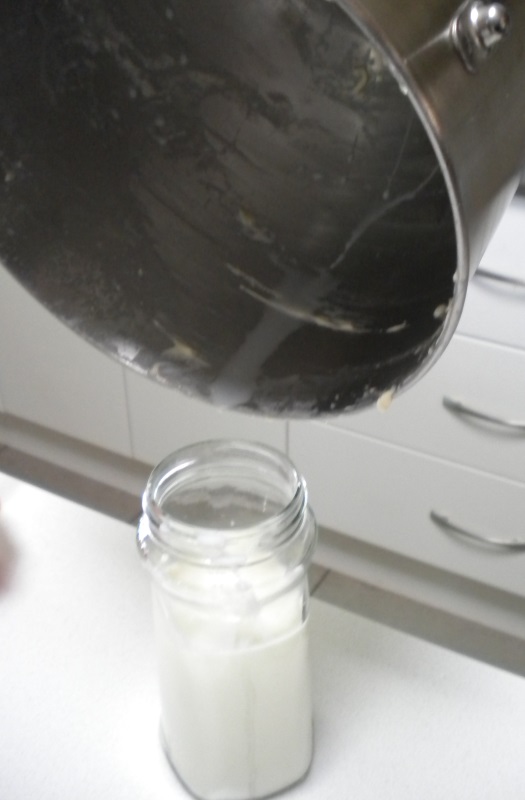
- Grab handfuls of butter and squeeze any remaining buttermilk out - keep it in the fridge to use in cooking or use it as the starter culture for your next batch.
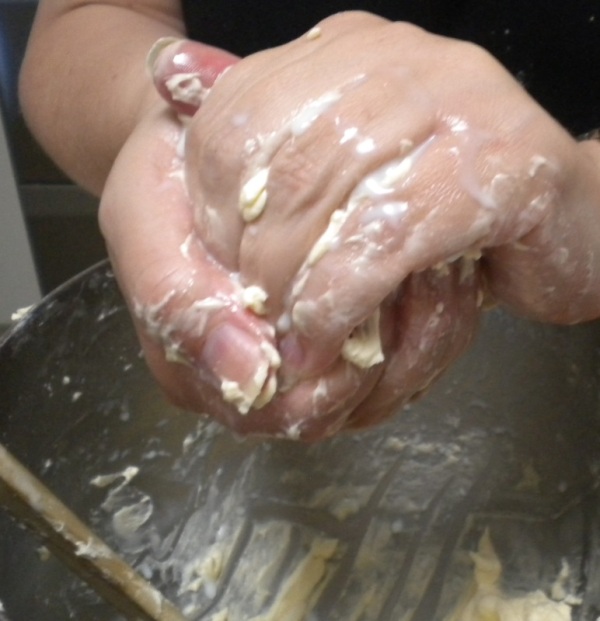
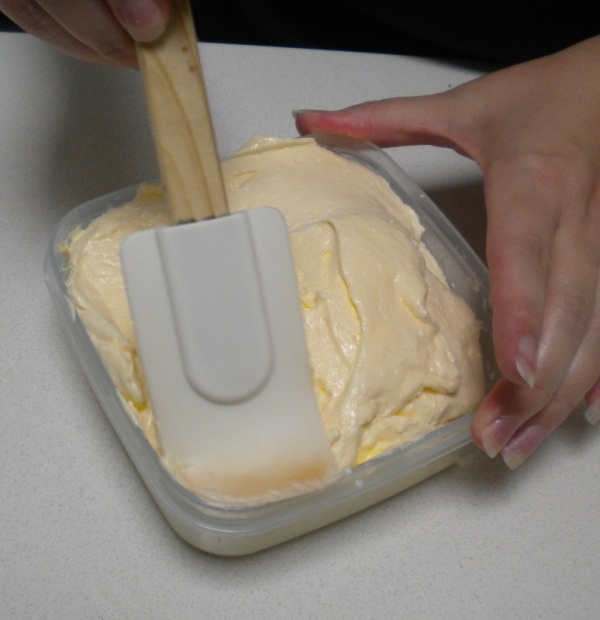
- Put the butter into a fridge container, and smooth the surface with a spatula.
Share this Recipe
Powered byWP Ultimate Recipe
